
Ahoy, brave treasure hunters! The quest for the coveted export of all Salesforce objects and field names in your Salesforce org lies ahead. There are few ways to reveal these hidden riches for your org but the steps below reveal the simple route to the gleaming jewels of data. But beware! You need admin rights to be able to glean all that these steps can provide. But be assured this export can help you navigate the seas of your org.
Part 1 : Setting up the Report Type
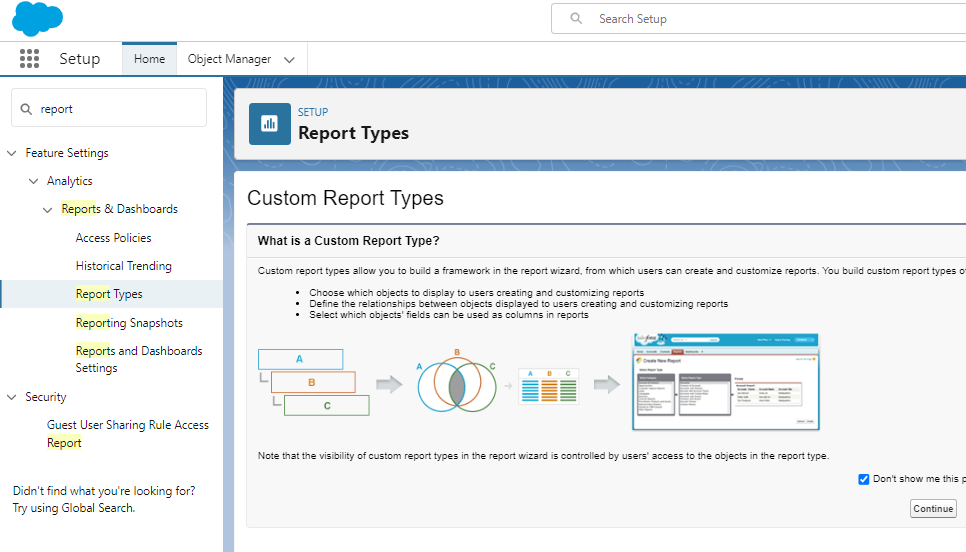
- Navigate to the Setup Menu by clicking on the gear icon in the top right of your Salesforce page.

- In the Quick find box type in “report” and select “Report Types”
- If this is the first time you have accessed the Report Types section click Continue on the “What is a Custom Report Type” page
- Select New Custom Report Type


- In the next page select Entity Definitions from the Primary Object drop-down menu
- Enter “Object Information” in the Report Type Label field
- Enter “Object_Information” in the Report Type Name field
- Enter a description in the Description field to identify that this report returns the Object Names and Field Names
- Select Administrative Reports for the Store in Category field
- In the Deployment Status field leave it on the option In Development unless you are ready for other users to see and use this report, in which case you can select Deployed

- Select Next
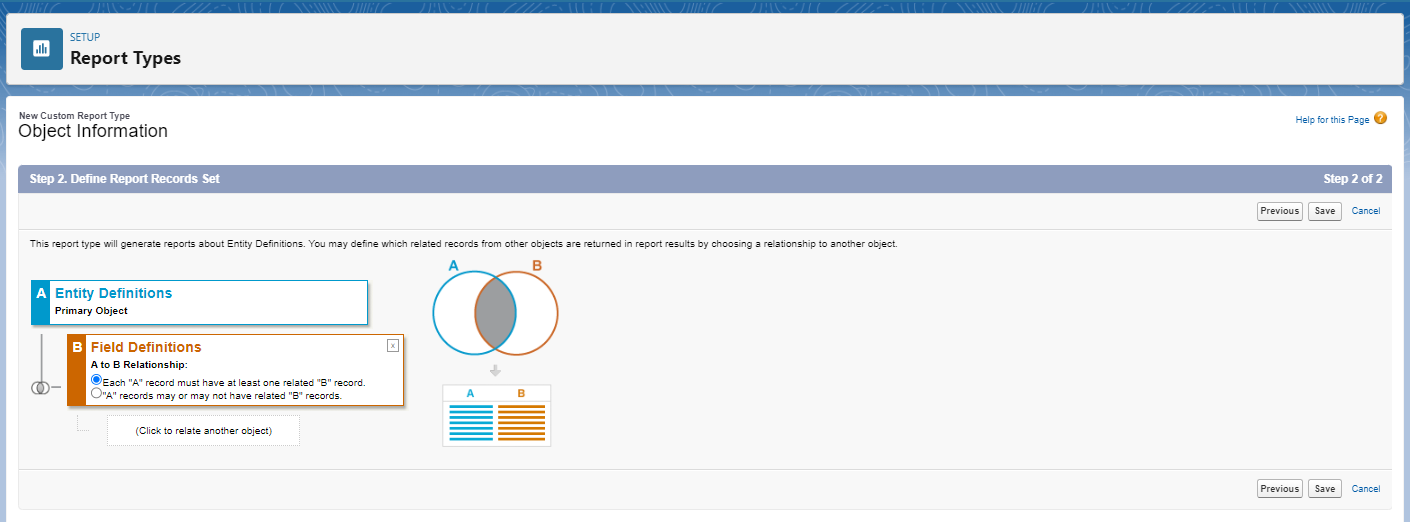
- In the next step select Field Definitions on the Related B object and select “Each A record must have at least one related B record.” option
- Select Save
At this point you have created the Custom Report Type to export all the fields and objects in your Salesforce org. Now we will walk through exporting the Objects and Field Names
Part 2 : Launch the Report
- At the top of your Salesforce page click on the App Launcher button and type in “report” in the search field then select Reports

- You will be taken to the report Tab in Salesforce, from this page select the New Report button

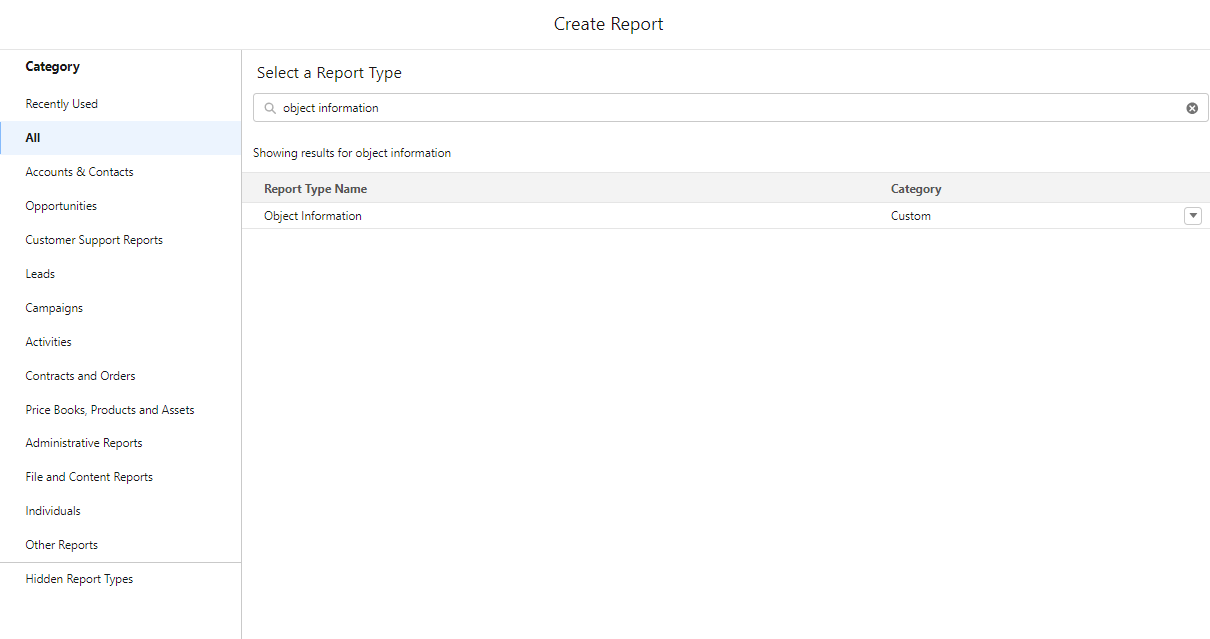
- On the next page, type in “Object Information” (the name of the report we created in part 1) in the select a Report Type search bar
- Select Object Information from the resulting Report Types
- Click the Start Report button

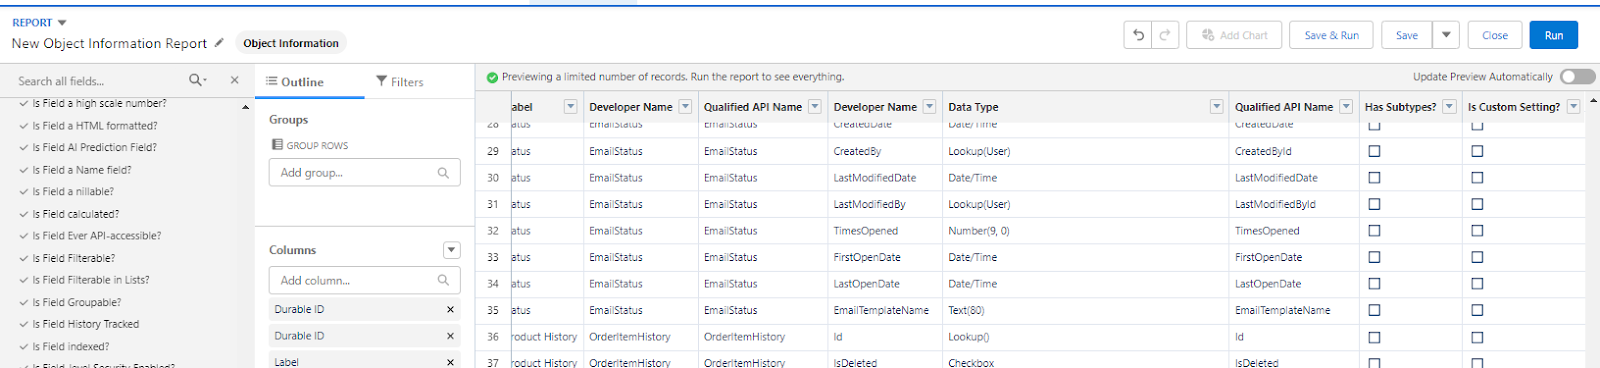
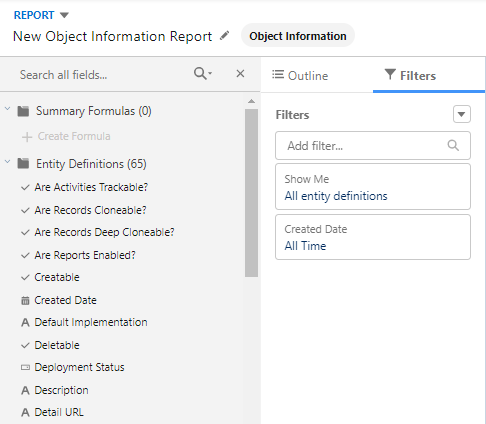
- In the next page, expand the left side with the Fields section
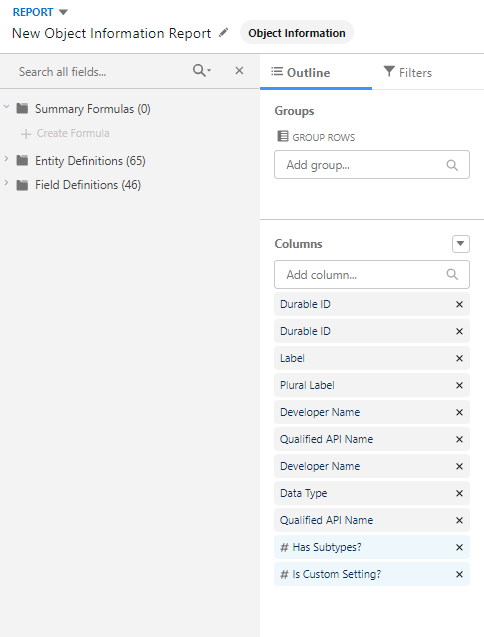
- Under the field section there should be 2 folders for the 2 objects that we added to the report in Part 1
- Expand the Entity Definitions folder in the Fields section and select the following fields from the Entity Definitions folder and drag them to the Columns section
- Durable ID
- Label
- Plural Label
- Developer Name
- Qualified API Name
- Expand the Entity Definitions folder in the Fields section and select the following fields from the Field Definitions folder and drag them to the Columns section
- Durable ID
- Data Type
- Developer Name
- Qualified API Name
- # Has Subtypes?
- # Is Custom Setting?
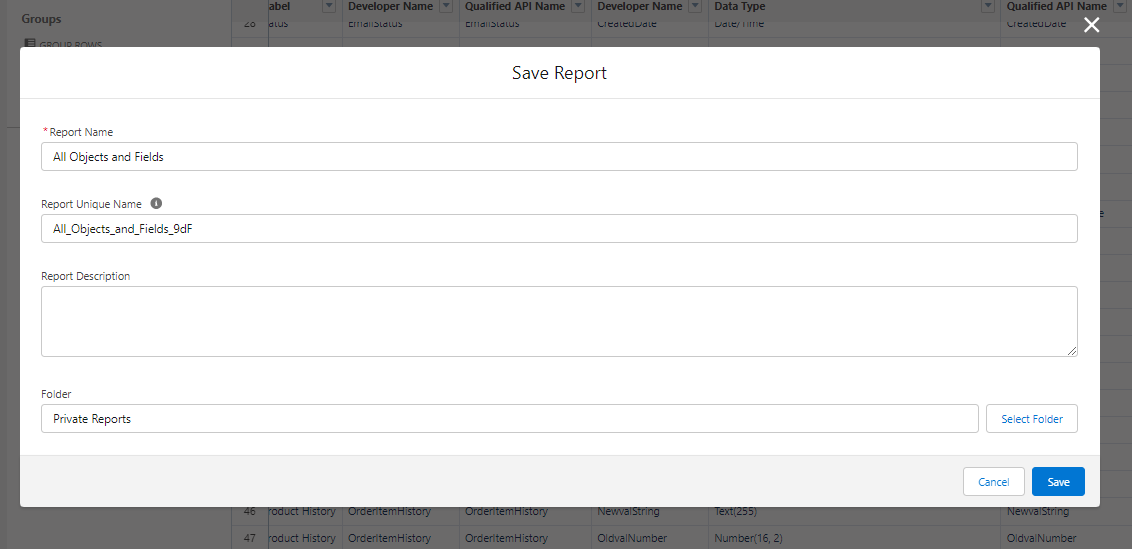
- Click the Save & Run button
- Give your report a name in the Report Name field and select the Folder you want to save the report to in your Salesforce org then click Save
.
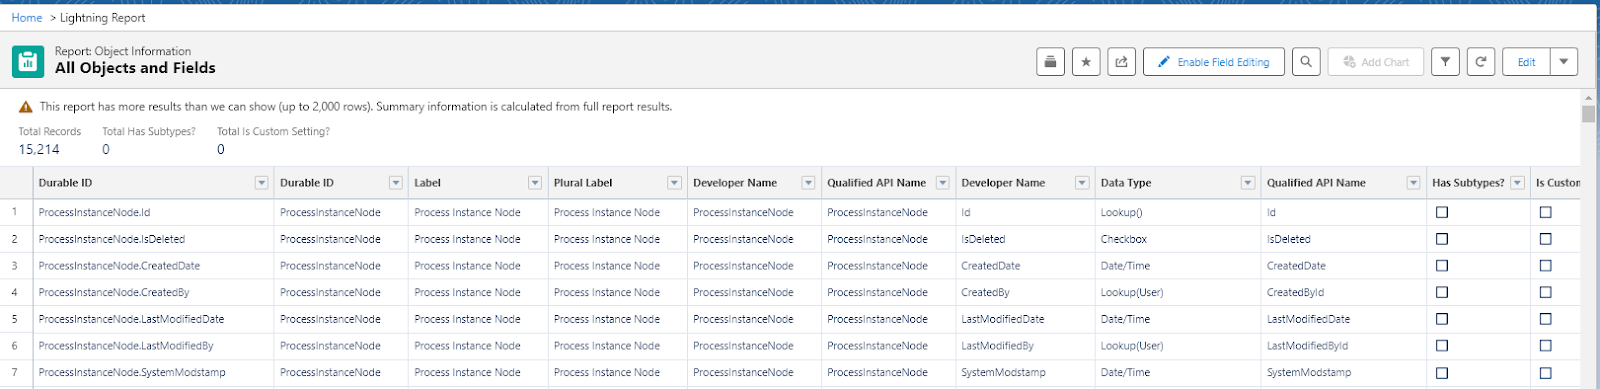
- The next page will show a small selection of the objects and fields in your org. You can see the total number of object fields in the Total Records count in the top left corner of the report
Part 3 : Export the Object and Fieldname Report
You can now Export the report to get the full list of objects and object fields
- On the report page select the drop-down arrow in the top right corner of the report and selecting Export
- The report will download to your download folder on your device

Part 4: Filter the Object and Fieldname Report
You can filter which objects you want to have in your export
- Click on the Edit button on the top right of your report
- On the report edit page select the Filter section on the left side
- Enter “Qualified API Name” in the Add filter… search bar and select this field from the Field Definitions area

- Select “equals” for the Operator
- Enter the name of the object you want to keep in your report in the bottom field ( The object name needs to be the API name of the Salesforce object )
- Click Apply

- You can add multiple objects by separating them with a comma
That wraps up the steps needed to export your object and field name data from Salesforce. You can use this data to easily help out your consulting developers or admins to get an idea of the org structure. This is a good way to show your data model without giving full access to your org or if you don’t have a sandbox.

Need help finding the Salesforce gems?
Let us help! Were seasoned Salesforce treasure hunters.
